How to use In-App Calling for smartphones
Before disconnecting the call, provide the customer with the following instructions:
- “After we disconnect, please follow the link in the text message that I sent you.”
- “Download and install the Mobile App, and accept all the terms and permissions.”
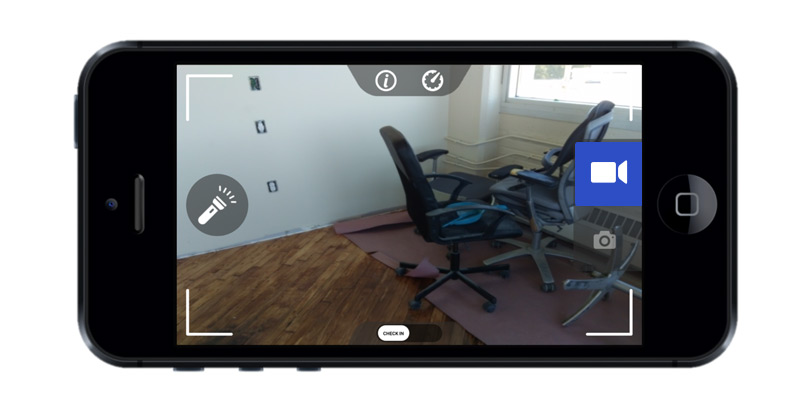
- “On the Camera Screen, please use the “Check-In” button displayed at the bottom.”
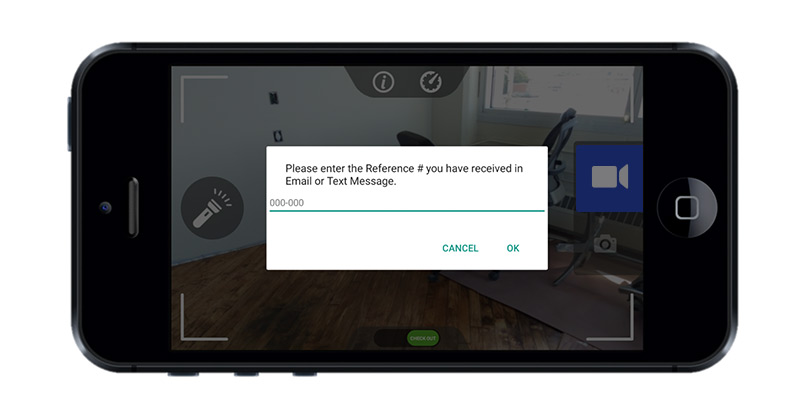
- “Enter the 6-digit reference code that was included in the text message in the menu that pops up.”
When the customer completes these steps, you will receive an email confirming that the customer is able to connect with in-app dialling.
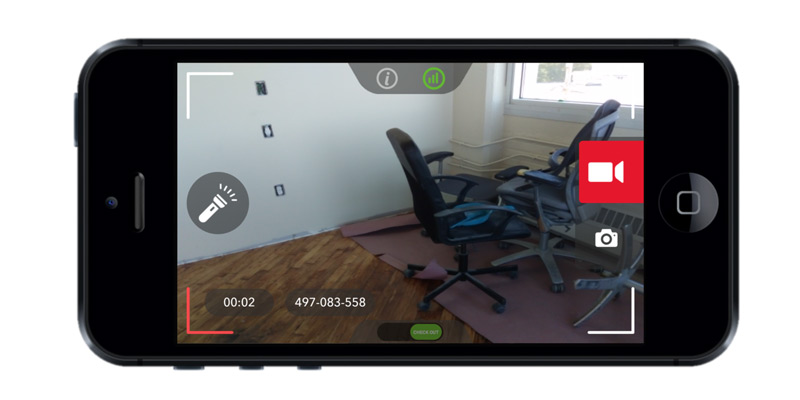
- Access the claim file on the Web Portal, notice that the “Record Call” button above the video player has changed from red to green.
- Click the “Record Call” button to dial the customer using In-App Calling.
- When the customer accepts the call, the system will dial the phone number provided in your User Profile.
- You can use a different phone number by clicking the down arrow in the “Record Call” dialogue box and filling in the desired number.
- Once the call is connected, the screen will automatically refresh after the customer starts streaming.
- When documentation is complete, ask the customer to press the green “Check Out” button to end the session.
How to use In-App Calling for tablets
Since tablets typically cannot receive text messages, the customer will need to be provided with the Mobile App download link via email. To send the link through email:
- Navigate to the New Claim tab on the Dashboard
- Type in the customer’s desired email address in the email field
- Click the “Share App Link” button to the right of the email field
- The customer will receive an email with the app link and a reference code for check-in, same as with a text message